Rubber Roof Installation Services for Property Owners
Visitors will learn about rubber roof installation services and how local contractors can help property owners with their roofing needs.
- - Rubber roof installation services for residential property owners seeking reliable local contractors.
- - Connect with experienced service providers specializing in commercial rubber roofing projects.
- - Find trusted local professionals to handle rubber roof replacements and new installations efficiently.


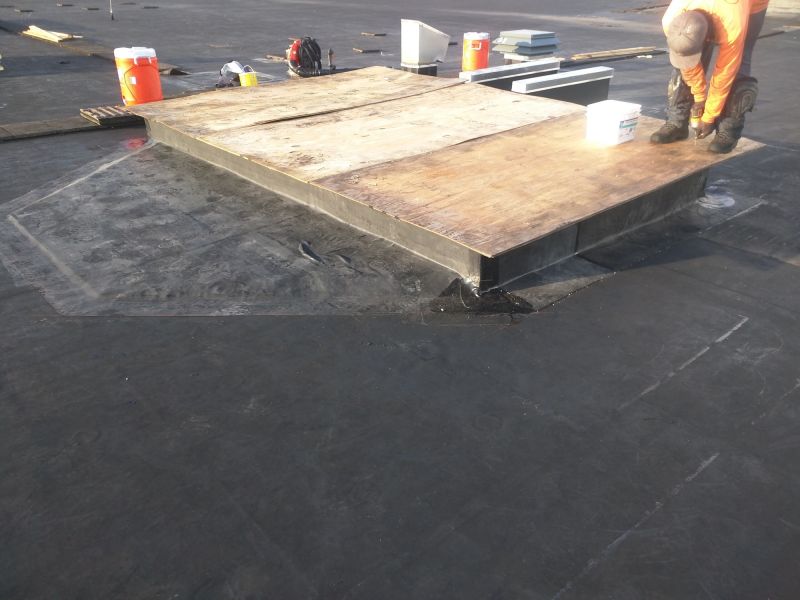
Rubber roof installation is a specialized service that involves the careful setup of a durable, flexible roofing membrane often used on flat or low-slope roofs. Property owners seeking this work typically look for experienced local contractors who can assess the roof’s structure, recommend appropriate materials, and ensure proper installation to withstand weather and environmental conditions. These professionals handle tasks such as preparing the roofing surface, installing the rubber membrane, and sealing seams to create a watertight barrier, helping to protect the building from leaks and damage over time.
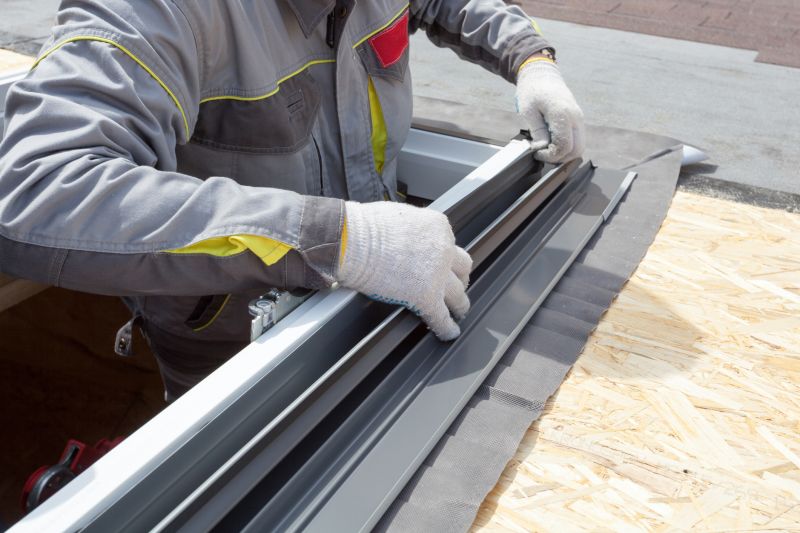
Local service providers in this category are well-versed in the nuances of rubber roofing systems and can assist with a variety of related needs, including repairs, maintenance, or complete installations. Property owners often reach out to these pros when upgrading an existing roof or installing a new one on commercial or residential buildings. They can provide guidance on the best practices for installation and help connect property owners with the right local experts to handle the work efficiently and effectively.
Rubber Roof Installation Services
- Compare local contractors to find the right fit for your roofing project.Expert Installation Options
- Learn about different approaches used by nearby service providers.Connect with Local Contractors
- Find experienced pros in your area to handle your rubber roof installation needs.This guide provides helpful information to understand rubber roof installation projects and what to consider before hiring. It assists in comparing local contractors and understanding common services offered. Use this resource to gather the basics needed to connect with qualified service providers in your area.